


If you have used the Solana Candy Machine V1 protocol, using V2 will be far easier to you. If you have never used either before, then this tutorial will help you to do so. It's pretty straightforward and we have you covered.
To get started, we must install the following dependencies to create your NFT’s:
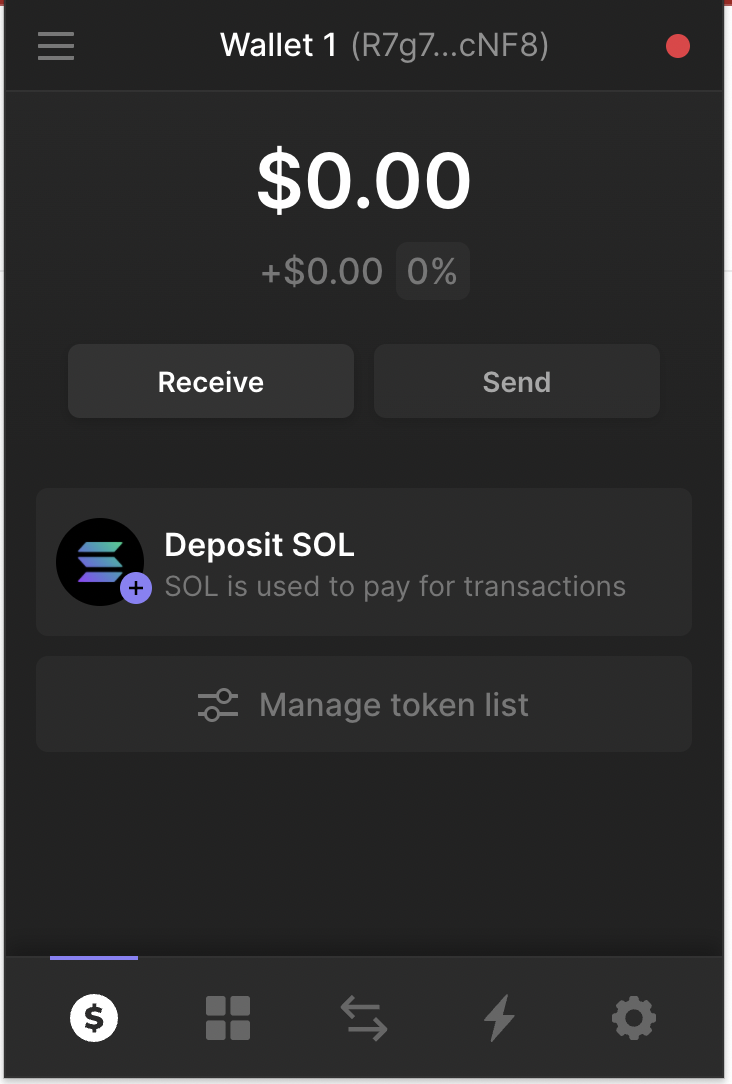
Once installed, you must then install the Phantom Wallet extension. If you are familiar with MetaMask, Phantom is similar but used for Solana’s network. After installing the wallet you must create an account and save the 12 word seed in a secure location.
Once in the wallet, you must change the Solana’s Mainnet to Devnet. This is because to operate in Mainnet, we would need to spend some Sol’s. But, in Devnet, we can fund our wallet with some fictional Sol’s (these Sol’s don't have real value, so trying to use them will have no effect, nice try though).
To do this, go to settings, as the image above shows, and scroll down until you see the following:
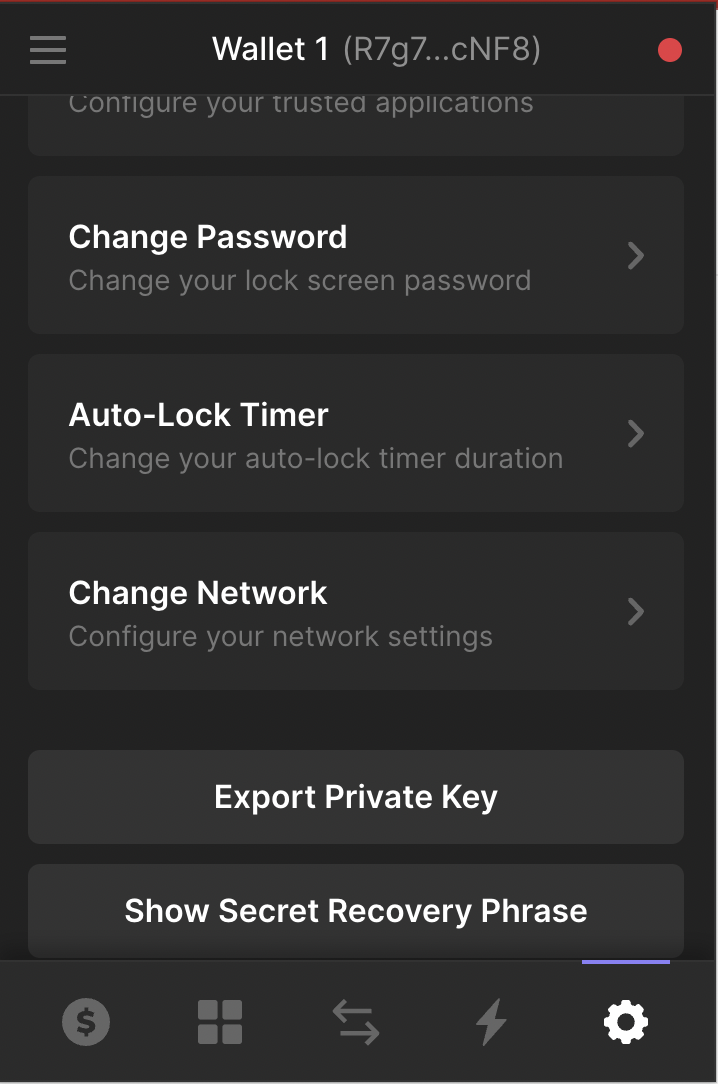
After selecting 'Change Network', Then, select the Devnet option. FYI - you would need to send some Sol to your phantom address to avoid problems when we are ready to Mint. You can get Sol’s to do this from the following faucet.
You are now ready to start coding. To get started, go to the following repository and clone it.
Before we interact with the cloned repository, first we need to do some configurations using the Solana CLI. We should open a terminal to start interacting.
(I highly recommend having a document to save important information for interacting with Solana’s CLI, and later with the Candy Machine Protocol.)
Step 1: Configurate work space
The very first step is to create a folder for our project: mkdir solana-nft and we are going to step into that folder.
Then, you will need to configure the CLI to work on Solana’s Devnet instead of Mainnet, so we should throw this command - $ solana config set. You should receive something like:
The terminal should then respond with something like:
Config File: /Users/tomi/.config/solana/cli/config.yml
RPC URL: https://api.devnet.solana.com
WebSocket URL: wss://api.devnet.solana.com/ (computed)
Keypair Path: /Users/tomi/.config/solana/devnet.json Commitment: confirmed
If you see that you are not on the Devnet, whit this command you could switch from Mainnet to Devnet: $ solana config set —url https://api.devnet.solana.com
And with this command $ solana config get you can get the configuration settings to verify if you are connected to the Devnet.
The next step is creating a wallet for this project using - $ solana-keygen new --outfile ~/solana-nft/key.json
After doing this, the Solana CLI would ask you for a password, put whatever password you like. In my case I would leave an empty space because we are using the Devnet and there is any risk of losing real money.
We should receive something like:
Wrote new keypair to /Users/tomi/solana-nft/key.json
=================================================================
pubkey: 5MWFw5V5HaqKDfgakTz5vADcsQ28CmSZBJt7W9kPa5dH
=================================================================
Save this seed phrase and your BIP39 passphrase to recover your new keypair:
NEVER REVEAL YOUR 12 WORD SEED PHRASE
=================================================================
Please write your pubkey in the document.
Then, we should set that key as our predetermined key. In order to reach this, we sould throw this command: $ solana config set —keypair~/solana-nft/ key.json
To verify that we set correctly the pubkey we can use the following command: $ solana address, and we should receive the same address as the one that we wrote on our document.
With this command, we are going to magically airdrop some funds in our address:
$ solana airdrop 5. This should respond with the following:
Signature: 2y7p5wchXuyGtKPHCEchTJ63dU6PKuvMFdoVCwiELAsHCG6Zx3fZDbn3PyGn4X9THmCpevS7j6VDmdVtebAAZFyv
5 SOLIf you are asked with $ solana balance you should receive a response of 5 sols.
Step 2: Use the Metaplex repository
First of all, we should clone this Metaplex repository into our solana-nft folder with $ git clone https://github.com/metaplex-foundation/metaplex/
After cloning that repository we should install it’s dependencies, thats why we should throw the following command with yarn: $ yarn install -cwd ~/solana-nft/metaplex/js
If you are using Windows you can install Metaplex dependencies if you stand over the js folder or writing the whole path.
The installation should take a couple of minutes.
We can test that the installation was successful looking for the version of the Candy-Machine. We should use: $ ts-node ~/solana-nft/metaplex/js/packages/cli/src/candy-machine-v2-cli.ts --version
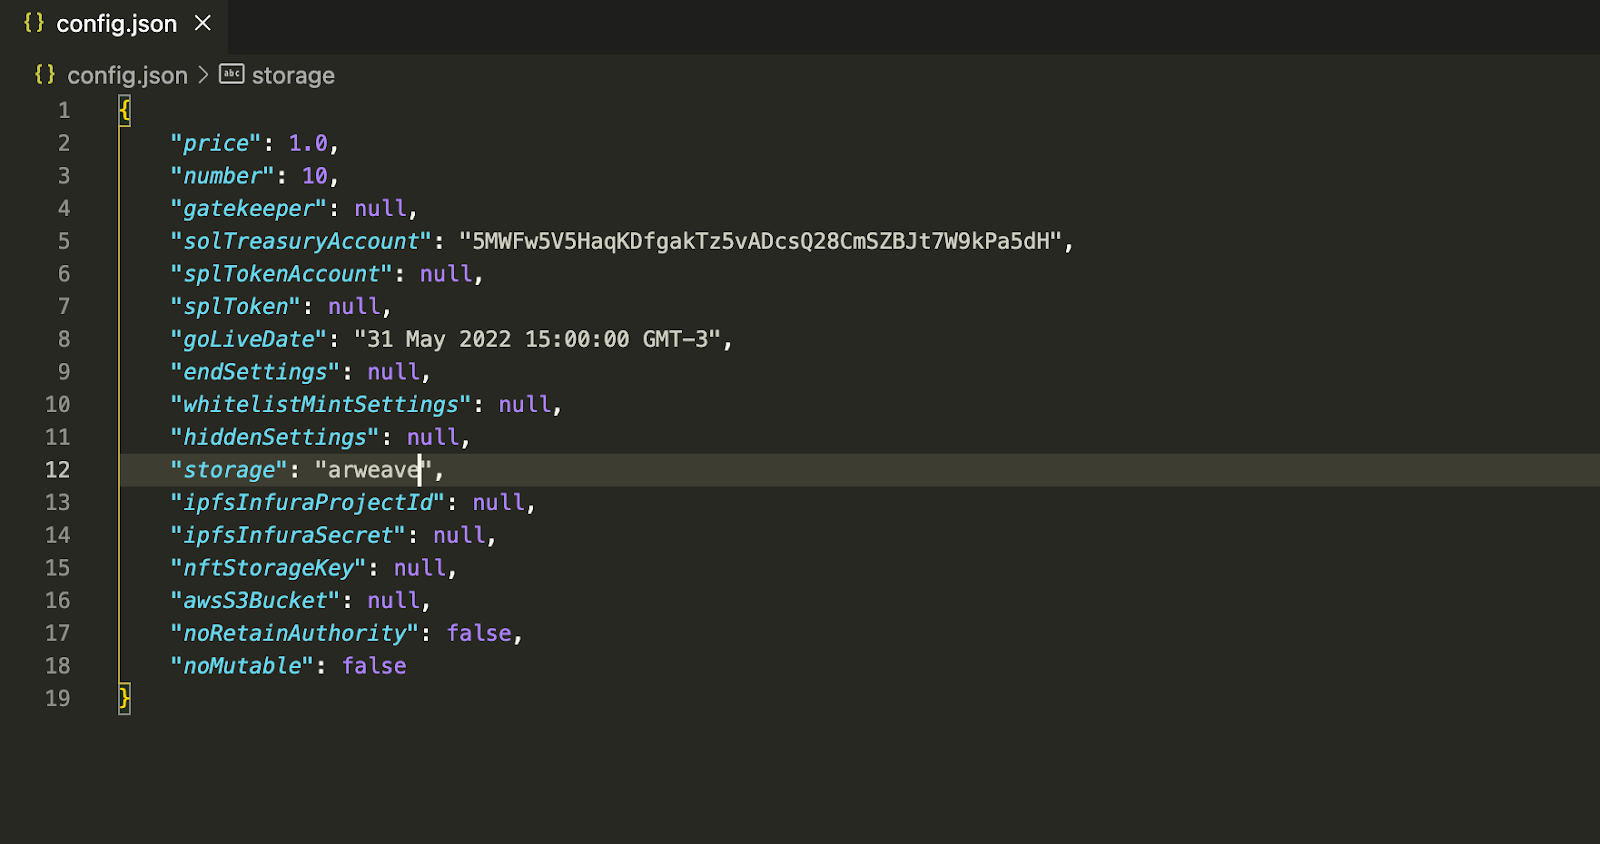
The next step is to create a config.json file, you can find the specifications in the Metaplex documentation. I recommend that for this learning instance we should use the minimal configuration.
So in our folder wi should create the file with: $ touch config.json and then we copy and paste the minimal configuration provided by Metaplex foundation.
For this learning stage I we should only change the “SolTreasuryAccount” and put our pubkey where it says <’YOUR WALLET ADDRESS’> and also the “goLiveDate” with the date and hour that you want your collection to be mintable.
Last but not least, change the “arweave-sol” with “arveave”, this in order to let the storage of our collection can endure in time in the Devnet.
Something like this will work:
Step 3: The assets
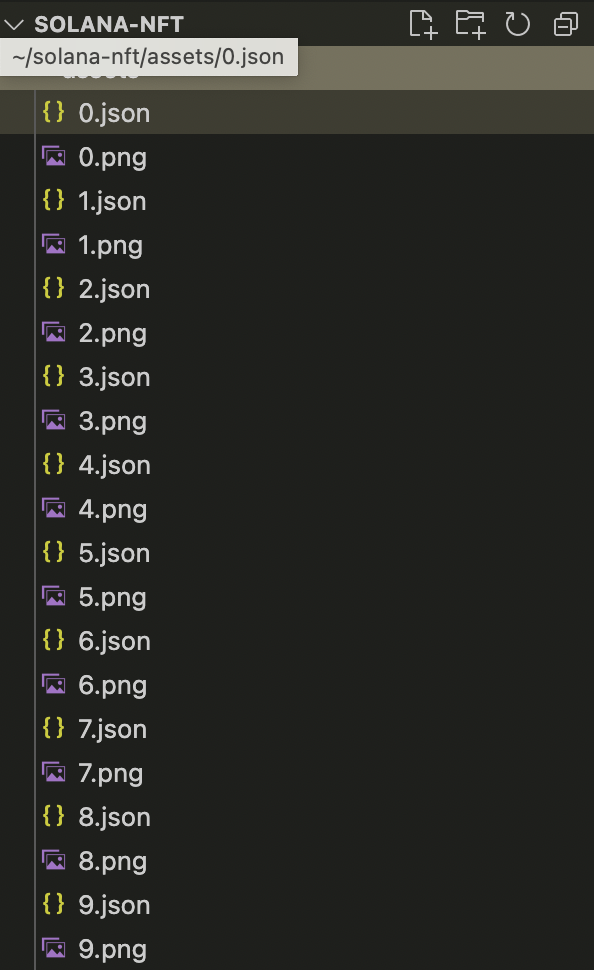
In the Candy Machine V2 is quite the same as in the Candy Machine V1. We should create a 1-1 mapping between the PNG images and its metadata in the form of a JSON file.
In the folder called solana-nft we should create another folder called “assets” and inside there we are going to create the 1 on 1 mapping.
It should look like this:
In the JSON files you should use the Metaplex uri schema that you can find in the following Medium post.
Please remember to use your pubkey address in the section of the JSON schema called address.
Now it is the time of truth. We are going to upload our Candy Machine with the assets 😱.
For doing this we should use the following command:
$ npx ts-node ~/solana-nft/metaplex/js/packages/cli/src/candy-machine-v2-cli.ts upload \
-e devnet \
-k ~/solana-nft/key.json \
-cp ~/solana-nft/config.json \
~/solana-nft/assets
It should take a little and you should receive a response in where you will find the Candy Machine Address, please save it in your important info paper.
If you want to verify that everything is ok, you can use the following command:
$ npx ts-node ~/solana-nft/metaplex/js/packages/cli/src/candy-machine-v2-cli.ts verify-upload \
-e devnet \
-c example
Step 4: Minting Website
This may be the easiest step.
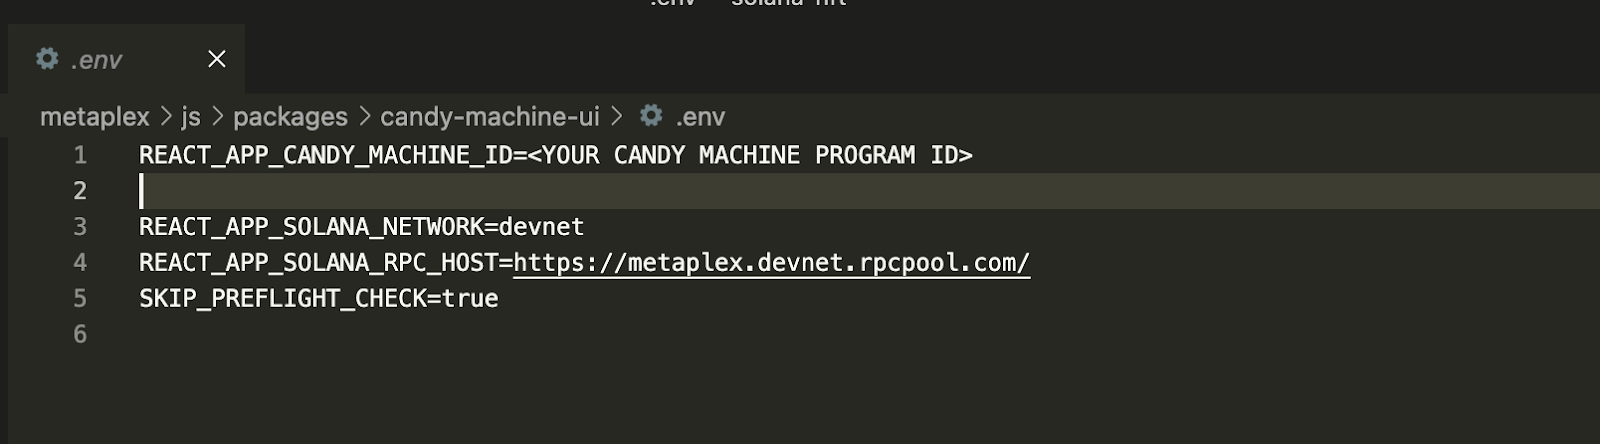
We only need to move inside the Metaplex directory and go to solana-nft/metaplex/js/packages/candy-machine-ui
There we should select the .env.example file and rename it to .env.
Inside the file we should put our Candy Machine address here:
And then in the console you should use the following commands:
$ yarn install
$ yarn build
After the build, automatically the browser will open in the local host and you will see a minting button.
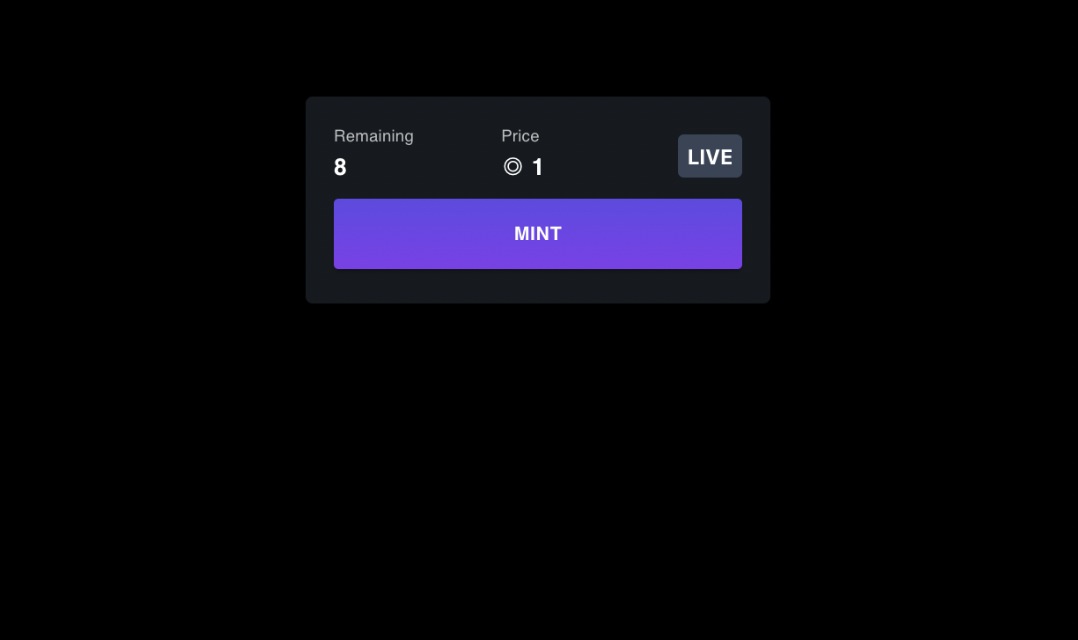
If you click it, your Phantom wallet will open and will ask you to sign the transaction, you can approve it, and in a couple of minutes you will see your NFT in the wallet.


