
When choosing an option for hybrid application development, Flutter has turned into a strong choice due to its advantages in adaptability to integrate other tools.
Sometimes due to project scalability, Firebase becomes a better option for using its features.
This article will explore how to integrate Firebase into a Flutter project.
Getting started
Firstly, to start using Firebase in our project, we need to add a package to our pubspec.yaml file.
The firebase_core package is responsible for connecting the Flutter application and Firebase.
After that, we will be in conditions to proceed with the setup for both mobile platforms, Android and iOS, and the Web.
Android Configuration
First, we need to add the google-services plugin inside the android/build.gradle file.
CODE: https://gist.github.com/juanRodriguez17/28783cea54f59e2f71a834dbdf770001.js?file=build.gradle
Then execute the plugin by adding the following line in the android/app/build.gradle:
CODE: https://gist.github.com/juanRodriguez17/99a7b54a00d0062247b3f852727f11ac.js?file=apply_plugin_build.gradle
If minSdkVersion is set to 20 or lower, the multidex support library must be used. On the contrary, if it is higher, multidex is enabled by default. In android/app/build.gradle, add the following lines regarding this in the defaultConfig and dependencies section:
CODE: https://gist.github.com/juanRodriguez17/abc2d3d7f3562c8ae5a00c3854cd8469.js?file=multidex_build.gradle
We recommend adding the ‘usesCleartextTraffic = true’ attribute to the <application> element in the AndroidManifest.xml file to allow our App to connect to local network services over insecure connections.
CODE: https://gist.github.com/juanRodriguez17/b3851a5cea1b8ca87b071d331a537263.js?file=AndroidManifest.xml
To run our App on Android, google-services.json file must be added to the source file.
iOS configuration
Now it is time, to begin with the iOS configuration. We need to download the GoogleService-Info.plist file from the Firebase console.
After that, the file should be copied into the project file folder. Make sure that the ‘Copy items if needed’ checkbox is checked.
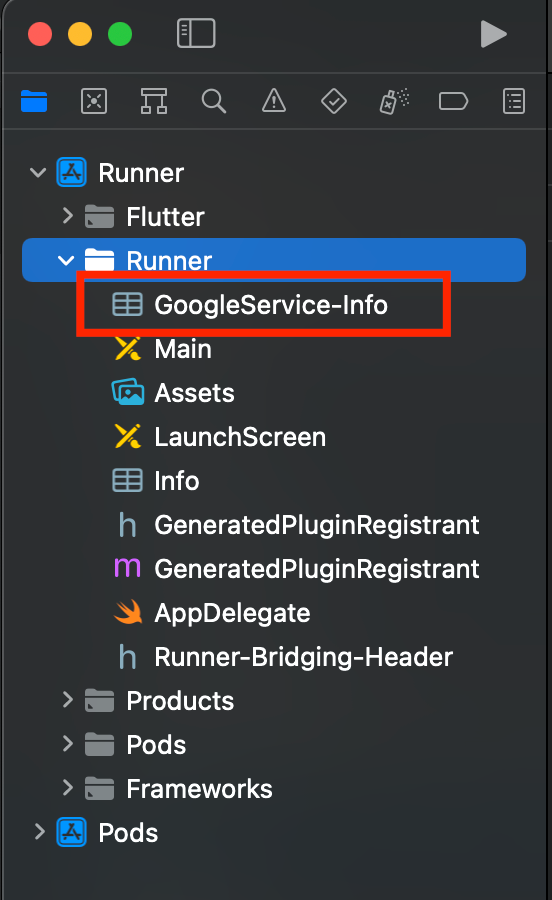
GoogleService-Info
If we want to use insecure connections and emulate Firebase services in our local machine, we must add the following section to the Info.plist file:
CODE: https://gist.github.com/juanRodriguez17/5f2136e0c25d18f9c9426bcc18b87808.js?file=Info.plist
Web configuration
Last but not least, the web configuration is as simple as adding the following lines of code to the index.html file inside the <body> tag:
CODE: https://gist.github.com/juanRodriguez17/2505658f7f4e6082cae673b1ab2fd94c.js?file=index.html
Initialize FlutterFire
FlutterFire needs to be initialized before any Firebase services can be used. Before that, we will need to import our firebase_core plugin.
CODE: https://gist.github.com/juanRodriguez17/54c14150acde201d5d18a96b3cf970c9.js?file=main_import.dart
Before initializing Firebase, we must ensure that the WidgetsFlutterBinding is initialized. This is used to interact with the Flutter engine.
Since Firebase.initializeApp() needs to use native code in the background to initialize Firebase, which is done asynchronously, we need to call ensureInitialized() to make sure that we will have the instance of widgets binding.
CODE: https://gist.github.com/juanRodriguez17/c1abe7849de00087183b7e7c5e3d5145.js?file=main.dart
The takeaway
In summary, after all these configurations, we can run our application on iOS, Android, and the Web.
This is only the introduction to the vast possibilities that Firebase offers, which can range from authentication to data storage.
As we said before, Flutter is a very considerate option in building hybrid apps due to its ability to develop in one language for the three platforms and adaptability in using tools according to project needs.


